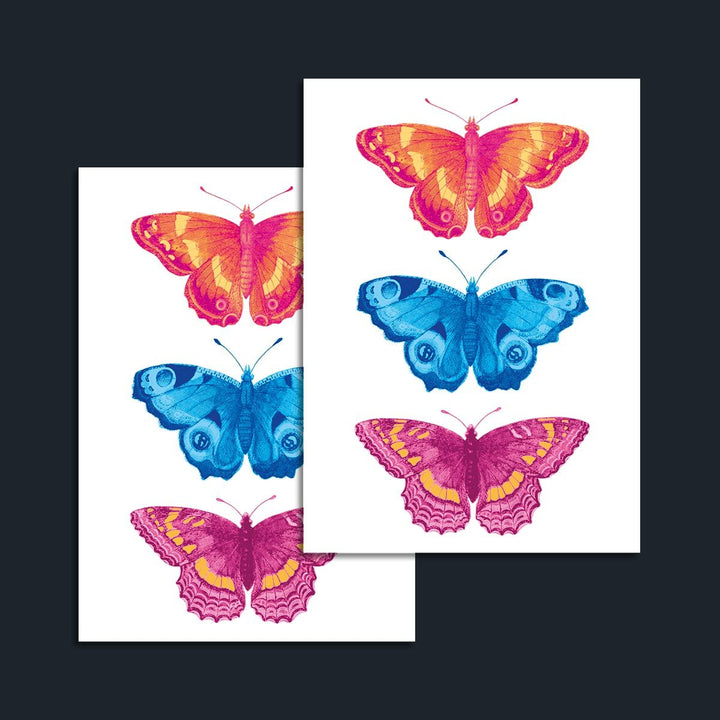
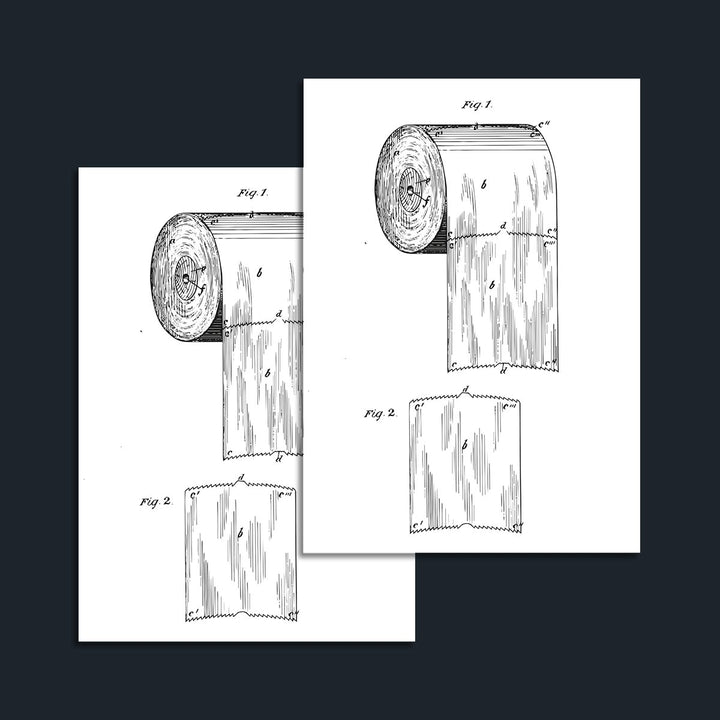
Tutorial: Decorate small wooden objects with cool Tempo Tattoo designs
Continuing with our series of posts about crafts with our temporary tattoos, today we are going to talk about how to personalize wooden objects with some of our original designs.
If you are new around here, you might think that we have gone crazy, that tattoos should be applied to the skin and not to wooden "things". And that is true, partially. Our Tempo Tattoos will look great as an accessory for your skin, but we hate limits (and love creativity)! In previous articles we have already shown how to customize a coffee mug or cardboard boxes; today it is the turn of wood.
As always, we will explain the whole process step by step so that you can reproduce it at home without problems. We have chosen to customize a kind of coaster and a door "hanger", but you can use this tutorial to customize a wide variety of objects.
REQUIRED MATERIALS
- An object made of wood, MDF, or plywood. For better results, we recommend that you choose a white object; this way the colors of the chosen fake tattoo will be highlighted. You can also paint the object with chalk paint, for example, or any other dull paint you have available.
- 96º alcohol. It is highly recommended to clean the surface before applying the tattoo on the object.
- 1 small sponge or cotton. Although it is not essential, it will help you fix the design on the wood surface.
- 1 wide brush.
- Varnish for wood or crafts.
STEP BY STEP
As always, the first step is to clean the object, removing dust and dirt. You can do this with a cotton swab slightly moistened with alcohol.
If the surface is wood-colored, damaged, or has varnish, we recommend that you prepare it beforehand. Remove any remaining varnish, paint, impurities, or dirt. Lightly sand the surface and, if desired, apply a coat of white or light paint.
Select your favorite Tempo Tattoo design, the one you will apply to your object. ¡Oh! And don’t forget to decide how and where you will place it before cutting it or removing the protective plastic.
Cut out your Tempo Tattoo leaving a 3-5 mm margin around the design. Remove the front plastic being careful not to touch the printed part of the tattoo.
Apply the design to the surface of the object in the spot you have chosen. Press evenly.
Using a slightly damp sponge, wet the surface of the tattoo design evenly, including the edges. Do not apply lateral pressure as the sticker could slide off prematurely, spoiling the design. Holding the card by one corner will prevent that from happening.
Before removing the protective paper, you should wait a minimum of 40 seconds so that the artwork is properly fixed.
Allow the fake tattoo design to dry for at least two hours before using the custom wooden object; although it is more advisable to leave it 24 hours —better safe than sorry!—. Drying time depends on ambient temperature and humidity. Avoid touching the surface of the tattoo until it is completely dry!
When the tattoo is completely fixed on the coaster or wooden object you have chosen, apply the first coat of varnish with a wide and thick brush —you can do it over the whole object or just over the tattoo illustration—. Swipe it gently in different directions, applying the varnish evenly and following the manufacturer's instructions. It may be necessary to apply a second coat of varnish depending on the case.
It has taken some time, but what a result!
We had these objects on hand, but you can apply our temporary tattoos on multiple wooden or plywood objects: photo frames, ornaments, boxes, furniture, medallions, etc. ¡It’s completely up to you!
Do you dare to make your own creation? If you do, don't forget to upload a photo to social media and tag us with the hashtag #mytempotattoo. We are looking forward to seeing your fantastic work!


