Tutorial: Customize your coffee mug using temporary tattoos
Did you really think that temporary tattoos could be only used to enhance your skin? We won't blame you for that, but nothing could be farther from the truth.
At least, our Tempo Tattoos are so versatile that can be applied to many supports and materials such as ceramic, cardboard, wood, and even glass. So, next time, instead of grabbing a lousy printed coffee mug, why don’t try to do your own, custom, beautiful piece of crockery?
To prove this claim, and to boost your inspiration, we created a series of posts to share with you a few ideas of all the creative possibilities that our temporary tattoos have to offer, besides its main functionality of styling-up your look.
This first tutorial is part of this series and includes both images and a detailed description of how to personalize different kinds of objects. On today's contribution —you guessed right!— we will be showing you how to create a customized coffee mug using one of our cool temporary tattoo designs.
REQUIRED MATERIALS
- 1 White ceramic mug, preferably designed for crafts. We recommend that it be white so that the colors of your tattoo can be seen perfectly. You can try using any mug, but if it is not suitable for crafts, the tattoo adhesive may not stick as well due to the varnish.
- 96º alcohol. You will need the alcohol to thoroughly clean the cup before applying the tattoo and the varnish.
- 1 small sponge or cotton. This is not essential, but it will help you fix the design.
- 1 wide flat brush.
- Varnish for ceramics. If you plan to use this mug to drink -probably yes!-, don't forget to buy a varnish that can be used with kitchen utensils. This is normally available in most craft stores.
STEP BY STEP
Thoroughly clean your blank mug, first with hot soapy water, and then by rubbing with alcohol. This way, the tattoo adhesive will be fixed better.Decide on the tattoo model you are going to apply to your not-yet personalized mug and the spot where you want to place it before cutting or removing the protective plastic. Remember: most of the ceramic specific varnishes which are suitable for dishwashing are good to use in “crockery elements”, although they are not recommended to put in spots where the varnish will be in contact with the food (i.e. in a coffee mug, it would be good to apply on the outside part, but not on the inside, where the liquid will be contained).
Trim your Tempo Tattoo leaving a 3-5 millimeter margin around the image.
Remove the protective plastic while being careful not to touch the printed part of the tattoo, or your fingers may stick to it!
Apply the design to the outer surface of the mug in your chosen location. Take your time and do it carefully, once the image has been glued it is very possible that you cannot take it off without damaging it.
With a slightly moistened sponge (without dripping), soak the entire surface of the tattoo, including the edges, with gentle taps, without applying too much pressure. It is advisable that while you impregnate the paper you hold a corner of it with your fingers, to avoid moving the tattoo accidentally. Don't forget to wet the entire surface of the paper.
Wait about 40 seconds before carefully remove the paper. Slightly lift one corner first to check the image has been adhered properly.
Let the tattoo dry for at least an hour, although we advise you to leave it for a minimum of 2 hours or even overnight. Drying time may vary depending on ambient temperature and humidity.
Do not touch the surface of the tattoo until it’s ready or you could damage it irreversibly.
When the tattoo is completely dry, apply the first coat of varnish with a thick, wide brush, gently sliding it in different directions. Doing it this way, you will avoid leaving marks or drops of varnish on the surface of your customized mug. Follow the manufacturer's instructions to apply a second coat if necessary.
You can apply the varnish over the entire surface of the mug —remember, only on the inside part!— or just over the area covered by the tattoo, but there may be differences in brightness and texture, so we recommend doing it over the entire surface if you want a more homogeneous result.
Well done! Your brand new custom mug is finished!
You can apply our temporary tattoos on multiple ceramic objects: cups, under plates (remember: they will not be in direct contact with food), trays, vases, Christmas decorations...
Personalized coffee mugs can be a fantastic gift for your partner, family, your best friends, or that office colleague who always grabs —and never cleans-up!— your favorite cup during his coffee break.
If you decide to create your own custom mug using of our Tempo Tattoos, we want to see it! Don't forget to send us your creations. You can share on the social networks of your choice and tag us with the hashtag #mytempotattoo. We are looking forward to seeing your fantastic work ;)


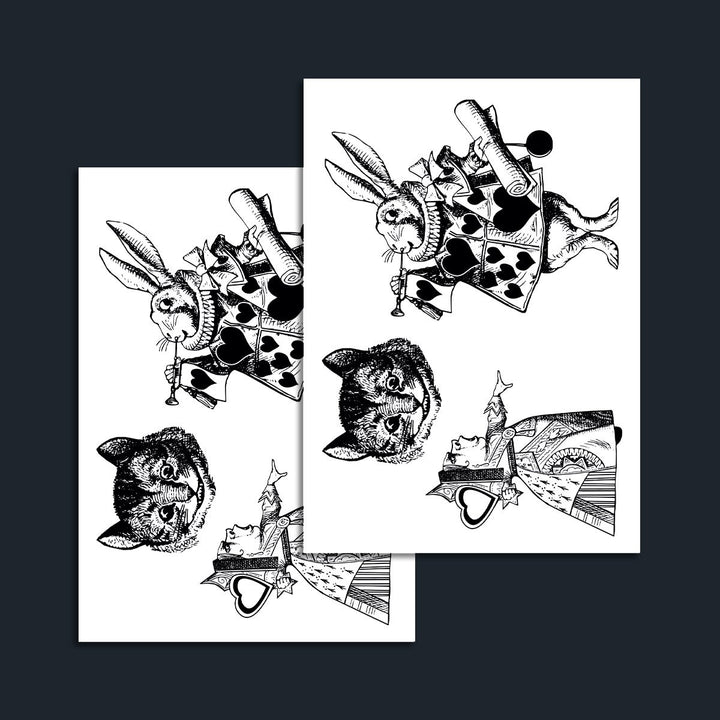
Alice in Wonderland
Black Week: €6,90 €4,14 🔥

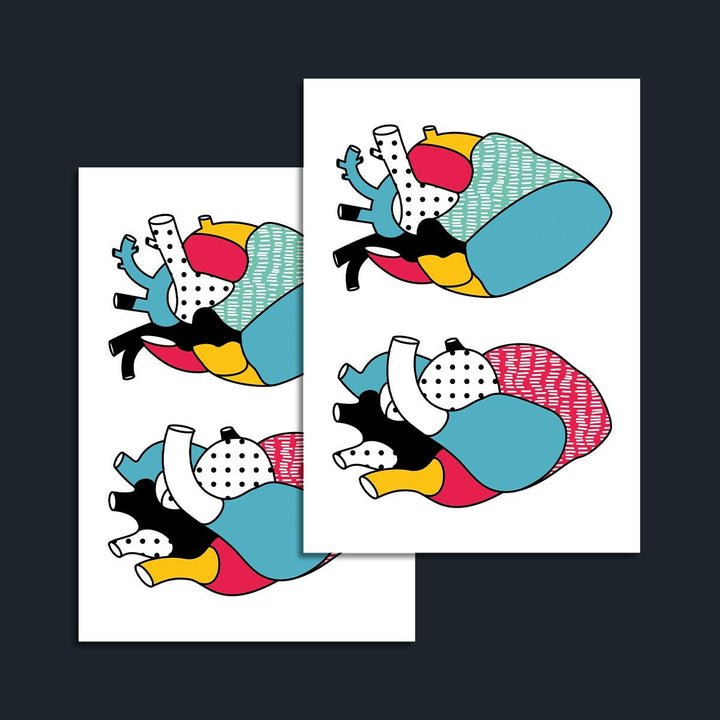
Colorful Hearts
Black Week: €6,90 €4,14 🔥


