Packing in style: Customize cardboard boxes with our fake tattoos
If this is the first time you visit this blog, you may be surprised to know that our tattoos can be used not only to decorate your skin and surprise friends and strangers, but also to make different kinds of crafts, with all kinds of materials.
If a few days ago we explained how to create a personalized mug with our temporary tattoos, in today's tutorial we are going to see how to personalize a cardboard box; a material with many possibilities, which requires a slightly different treatment than ceramic.
This post is part of our series of crafts with fake tattoos and includes images and a step-by-step description so you can replicate it —or use it as a starting point— in the comfort of your home.
REQUIRED MATERIALS
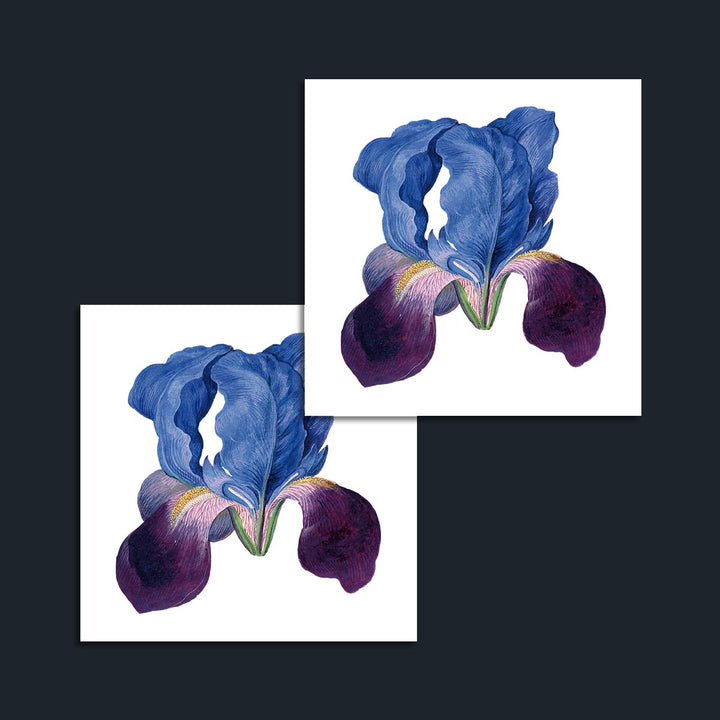
- Cardboard boxes. White boxes are preferred so that the temporary tattoo colors stand out from the background. You can also paint them first.
- 96º alcohol. It is recommended to clean the box before applying the tattoo and varnish.
- 1 small sponge or cotton. It is not essential, but it will help you fix the design.
- 1 wide flat brush.
- Varnish or white glue for crafts.

STEP BY STEP
The first step is to clean the dust and dirt from the box with a cloth or cotton swab slightly moistened with alcohol. This will improve the adhesion of the tattoo to the box.
Choose a Tempo Tattoo to apply on your box and, before "operating" the tattoo, don't forget to decide where and on which position you will place it.
Trim your Tempo Tattoo leaving a margin of a few millimeters around its silhouette. Remove the protective plastic very carefully. Try not to touch the front of the artwork with your fingers, or the temporary tattoo may get damaged.


Apply the design to the surface of the cardboard box in the location you have chosen. Be patient and make sure you place it in the correct position. Once glued, ¡it is very possible that you cannot take it off easily!
Dampen the entire surface of the fake tattoo with a sponge or cloth, paying special attention to the edges and preventing the paper from accidentally slipping away.


Wait from 40 to 60 seconds before carefully removing the back paper. The tattoo design adheres quite well to the cardboard, but it is advisable to check that the tattoo has been transferred correctly before completely lifting up the paper.
Let the tattoo dry for at least an hour or two, although ideally, you should let it rest for a day before using it. Watch out! Do not touch the surface of the tattoo until it's fully dry or you could peel it off or wrinkle it.
When the piece is completely dry, apply the first coat of varnish or white glue on the cardboard box. You can do this with a wide and thick brush, gently sliding it in different directions for a better result. You can varnish the entire box —for a more homogeneous result— or just the area occupied by the tattoo.


And voila! Your personalized box is finished! Below you can see our result, so you can imagine how cool yours is going to be!

You can apply our temporary tattoos on multiple cardboard and paper objects: photo frames, notebook covers, papier-mâché figures, Christmas decorations, or whatever you can imagine.
One of the best uses for this Christmas season is to create a special, customized box to wrap your gifts. That’s two gifts for the price of one. Just be warned, the box will be so cool that it can outshine the gift inside!
By the way, we would love to see your creations! If you decide to upload them to your social networks, you can tag them with the hashtag #mytempotattoo so that we can enjoy them with you. We can't wait!


.jpg?v=1599094915)